Hardware preparation
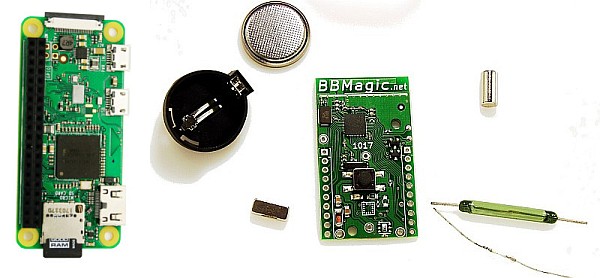
To get our task done we need:
- BBMagic MAGNETO module
- CR2032 battery with holder or another power source fo BBMagic MAGNETO
- reed switch
- magnet
- Raspberry Pi zero W or Raspberry Pi 3 – I have my Pi zero W little one. Want to know how to install OS easy? Learn it here: Quick system installation on Raspberry Pi
Setting BBMagic MAGNETO working mode
Lets set working mode to 1 – ‘ALIVE’ message will be sending every 30 seconds. More about ‘ALIVE’ message and other module parameters here: BBMagic MAGNETO where wires dont go
- turn off the power of the module
- push configuration button
- turn on BBMagic MAGNETO power holding the button pressed
- release the button after one LED flash
- LED turns off for about 2 seconds and then flashes once
Installing gcc compiler
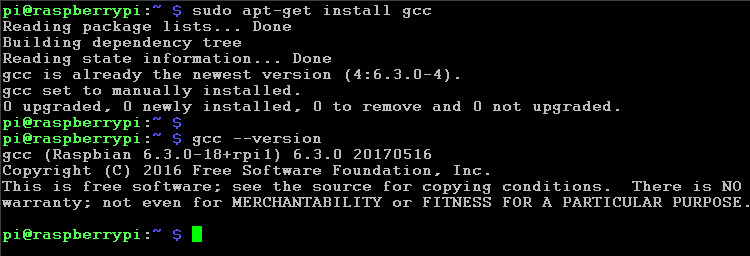
To install gcc log in to the system and type:sudo apt-get install gcc
Software preparation
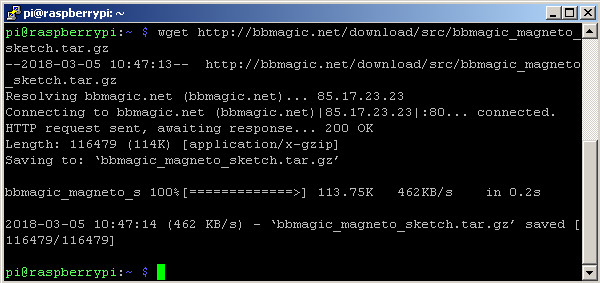
Get ‘bbmagic_magneto_sketch’ project from Download page and in terminal mode just write: wget http://bbmagic.net/download/src/bbmagic_magneto_sketch.tar.gz
Unpack project file tar.gz:tar -zxvf bbmagic_magneto_sketch.tar.gz and go to the project folder:cd bbmagic_magneto_sketch

Compile the project with command:make

Make sure executable file has proper permissions and if not change them:chmod 755 bbmagic_magneto_sketch
Launch application
And here comes the magic moment. Type command:sudo ./bbmagic_magneto_sketch

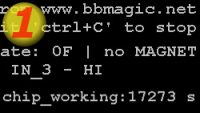
If there is no change in magnetic field presence then BBMagic MAGNETO sends ‘ALIVE’ message every 30 seconds (working mode number one).


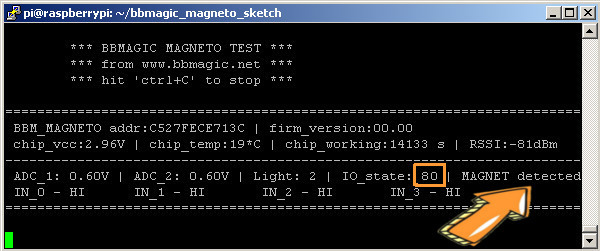
If the magnetic field apears… then BBMagic MAGNETO sends information about it immediately.
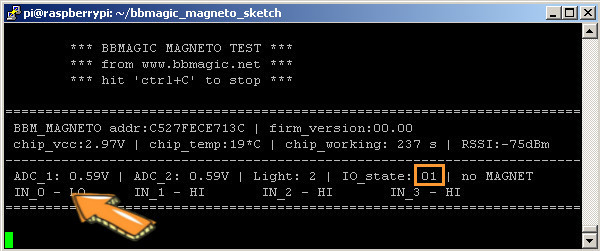
Connecting IN_0 input to the ground…

…causes IO_state flags change.
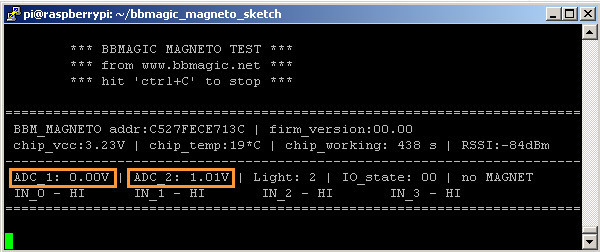
Lets test ADC inputs: I have connected ADC_1 input to the GND (pin 8) and ADC_2 input to external 1V DC voltage. Result:
And at the end lets check minimal power supply voltage. BBMagic MAGNETO is connected to the regulated voltage power supply:

Works fine. Excellent !!

